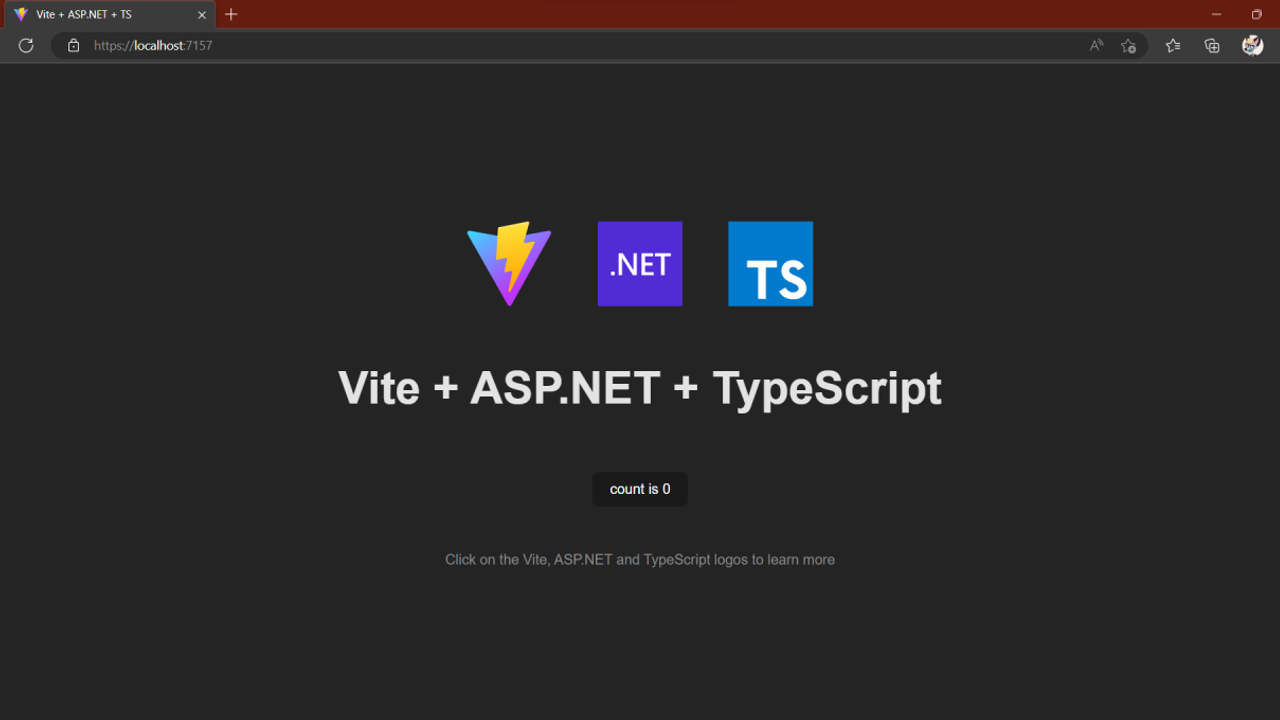
Using ViteJS as a bundler in ASP.NET projects

Vite is a powerful frontend tool for modern applications. It can be used to create static websites, make SPAs or as a bundler. Vite is much easier to configure compared to other bundlers and a good option to replace others like Webpack. In addition, this use ESM by default, running much faster. It’s main strength is the Dev Server that allows us to make changes to our scripts in real time.
Of course, we can integrate Vite to our ASP.NET projects and we doesn’t require to use SPA. I want to clarify this because currently there are few examples on the internet and most of them integrate Vite into SPA applications with ASP.NET as an API. That’s not a bad thing, but you should also know that we can actually use Vite as a bundler with Razor Pages, MVC, or Blazor Server.
How to setup your project
In this little guide I will help you to configure your ASPNET project so that you can start using Vite as a bundler.
First, make sure your package.json file is configurated as module. If you haven’t created it, then create a new package first. Your package file should look similar to this and should preferably be in your project root folder.
{
    "name": "vite-aspnet",
    "private": true,
    "version": "1.0.0",
    "type": "module",
    "scripts": {
        "dev": "vite",
        "build": "tsc && vite build",
        "preview": "vite preview"
    },
    "devDependencies": {
        "@types/node": "^18.15.11",
        "typescript": "^5.0.3",
        "vite": "^4.2.1"
    }
}
The next step is setting your vite configuration file. You can keep your assets in the folder you want. For this example, we will assume that the assets will be stored in a folder named Assets.
The configuration file will comply with the following points.
- The Vite development server will use .NET credentials in order to serve assets via HTTPS.
- Our Assets folder will be set as the root folder for assets.
- The output folder will be the wwwroot folder.
- Our public directory (for images, fonts, etc) will be Assets/public.
- The file Assets/main.ts will be our main entry point file.
- The name of our manifest file will be assets.manifest.json.
Our vite config file will looks like this:
/*
 * Name: vite.config.ts
 */

import { UserConfig, defineConfig } from 'vite';
import { spawn } from 'child_process';
import fs from 'fs';
import path from 'path';

// Get the base folder for certificates.
const baseFolder =
    process.env.APPDATA !== undefined && process.env.APPDATA !== ''
        ? `${process.env.APPDATA}/ASP.NET/https`
        : `${process.env.HOME}/.aspnet/https`;

// Generate the certificate name using the NPM package name
const certificateName = process.env.npm_package_name;

// Define certificate filepath
const certFilePath = path.join(baseFolder, `${certificateName}.pem`);
// Define key filepath
const keyFilePath = path.join(baseFolder, `${certificateName}.key`);

// Export Vite configuration
export default defineConfig(async () => {
    // Ensure the certificate and key exist
    if (!fs.existsSync(certFilePath) || !fs.existsSync(keyFilePath)) {
        // Wait for the certificate to be generated
        await new Promise<void>((resolve) => {
            spawn('dotnet', [
                'dev-certs',
                'https',
                '--export-path',
                certFilePath,
                '--format',
                'Pem',
                '--no-password',
            ], { stdio: 'inherit', })
                .on('exit', (code) => {
                    resolve();
                    if (code) {
                        process.exit(code);
                    }
                });
        });
    };

    // Define the Vite configuration
    const config: UserConfig = {
        appType: 'custom',
        root: 'Assets',
        publicDir: 'public',
        build: {
            manifest: 'assets.manifest.json',
            emptyOutDir: true,
            outDir: '../wwwroot',
            assetsDir: '',
            rollupOptions: {
                input: 'Assets/main.ts',
            },
        },
        server: {
            port: 5173,
            https: {
                cert: certFilePath,
                key: keyFilePath
            },
            hmr: {
                clientPort: 5173
            }
        },
    }

    return config;
});
The manifest file will be generated when we build our final assets, and it contains all information that we need to access to the final asset files. We need to read that file in production.
<!-- Entry point for production -->
<environment include="Production">
    <script type="module" src="~/@Manifest["main.ts"]!.File"></script>
</environment>
During development, make sure you’re including the @@vite/client script in order to use the Vite development server.
<!-- Entry point for development -->
<environment include="Development">
    <script type="module" src="http://localhost:5173/@@vite/client"></script>
    <script type="module" src="http://localhost:5173/main.ts"></script>
</environment>
Start the development server by running the dev script
npm run devAt this point, you’re ready to use Vite in your ASP NET projects, but you can still improve it.
Automation and improvements
We can integrate the assets build process in our publish process by adding these lines in out ASPNET project file (csproj).
<!-- Ensure Node environment on Build -->
<Target Name="EnsureNodeEnv" BeforeTargets="Build;PublishBuildAssets" Condition=" !Exists('node_modules') ">
    <!-- Ensure Node.js is installed -->
    <Exec Command="node --version" ContinueOnError="true">
        <Output TaskParameter="ExitCode" PropertyName="ErrorCode" />
    </Exec>
    <Error Condition="'$(ErrorCode)' != '0'" Text="Node.js is required to build and run this project. To continue, please install Node.js from https://nodejs.org/, and then restart your command prompt or IDE." />
    <Message Importance="high" Text="Restoring dependencies using 'npm'. This may take several minutes..." />
    <!-- Install Node packages -->
    <Exec Command="npm install" />
</Target>

<!-- Build the final assets -->
<Target Name="PublishBuildAssets" BeforeTargets="Build" Condition=" '$(Configuration)' == 'Release' ">
    <!-- Build the final assets -->
    <Exec Command="npm run build" />
</Target>
This setup will install the npm packages if they are not already installed and the assets will be built when the project is published.
If you are interested in further improving your configuration, you can take a look at my integration project. It already provides a service to easily read the manifest file, a middleware to proxy requests to the vite server and the ability to start the development server automatically. You install the NuGet package or just copy the code that you need.
